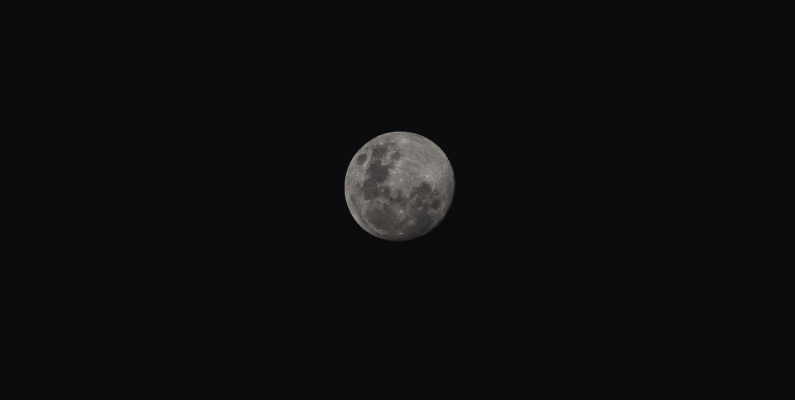
Astrophotography is awesome fun, so long as you don’t mind being up late! But it can feel pretty intimidating when beginning. A good place to start is photographing something like the moon and using it to practice the basics of astrophotography and photo editing.
The moon, especially when full, is very bright in the night sky. So, we don’t need super expensive gear to get high-quality pictures! An entry level DSLR will easily do the trick; the most important part of getting a detailed shot of the moon is the lens. You’ll want a 200mm lens or longer for lunar photography and a tripod.

200mm, ISO 800, f/5.6, 1/4000s
Most DSLR’s “auto” setting won’t take good lunar pictures, so we’re going to go full manual. This means setting the ISO, aperture, and shutter speed ourselves. Each capture light in a different way.
- ISO is how sensitive the sensor is to incoming light - a high ISO means more light but super high ISOs will lower image quality
- Aperture is how much light the lens is allowing in - and confusingly the lower the number the more light is being let in, so f/2.8 lets in more light than f/16.
- Shutter speed is how long the shutter is open - the longer the shutter is open the more light it lets in, it is denoted in seconds so a shutter speed of 1/125 means the shutter is open for 1/125th of a second.
If you’re a total beginner, start out with the following settings:
ISO: 100
Aperture: f/11
Shutter: 1/250
If the moon is still too bright, increase the shutter speed a few stops to 1/320 or 1/400 as needed.

600mm, ISO 100, f/14, 1/320s
While 1/250 is a relatively quick shutter speed that would usually work well for handheld photography, long lenses photograph such a narrow field of view that any shake will cause blur. That’s where the tripod comes in handy, to make sure your shots are as crisp as possible. For super long lenses or in windy conditions you’ll want an even faster shutter speed which will mean changing the ISO and/or aperture. For example, the picture below was taken with a 600mm lens in high winds, so getting a clear picture was very hard.

To counteract this I used the following settings:
ISO 640
Aperture 1/6.3
Shutter 1/4000
Don’t be afraid to try different settings to see what you like most! Photography is an art after all :) You can expose and edit it in different ways to highlight different aspects, for example in this picture the moon is severely overexposed but this allows Mars to be visible in the frame as well (that little speck on the bottom right).

150mm, ISO 2000, f/5, 1/50s
When it comes to post-production, the moon is a breeze. Typically I use Adobe Lightroom (but any photo editing software can work) and my main edits will be my exposure, increasing the contrast, and sharpening the image. For example, the picture was edited in Lightroom in the following way:


600mm, ISO 100, f/14, 1/320s
When starting out, keeping things simple is better, but as you get better at editing you can start changing other settings as well to achieve a look you like, there’s no real right or wrong here. As I said, this is an art! Your personal touch is what makes your pictures special and unique.
